
Applies to: Displax Tile Video Walls
Symptom(s): No Touch
Affected OS: Windows 10
Prerequisite Software: Displax Connect x32, or Displax Connect x64
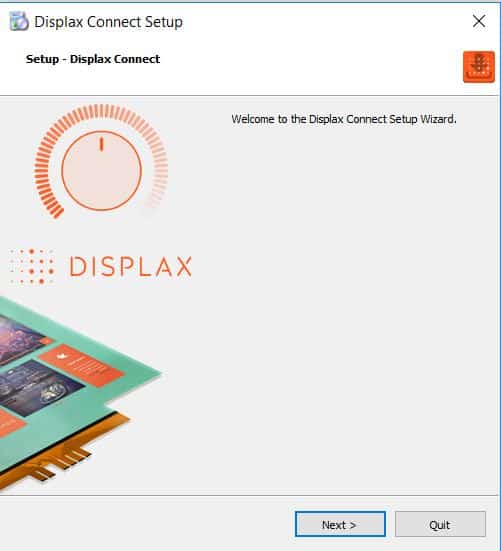
1. To download Displax Connect click on the link above that matches your version of Windows.
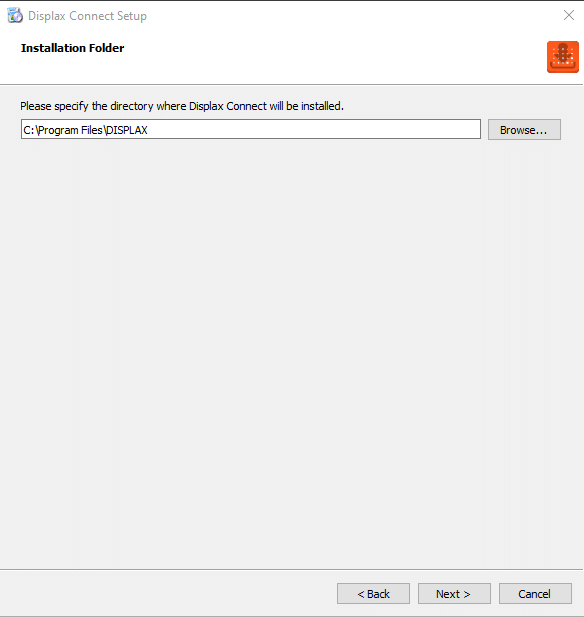
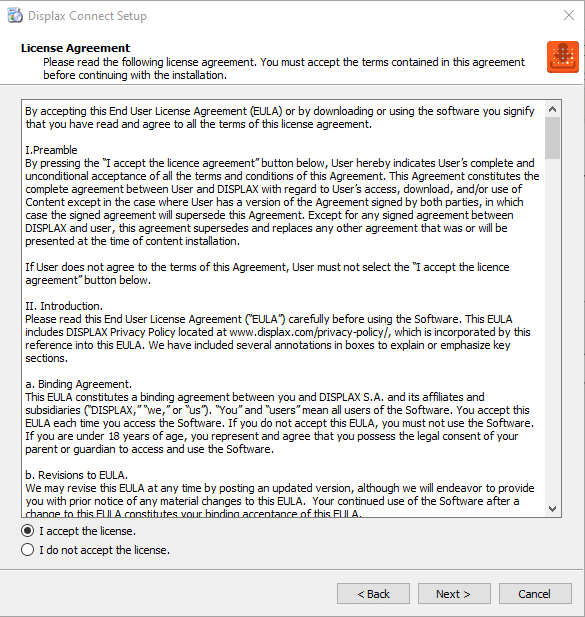
2. Click Next for the next four steps.
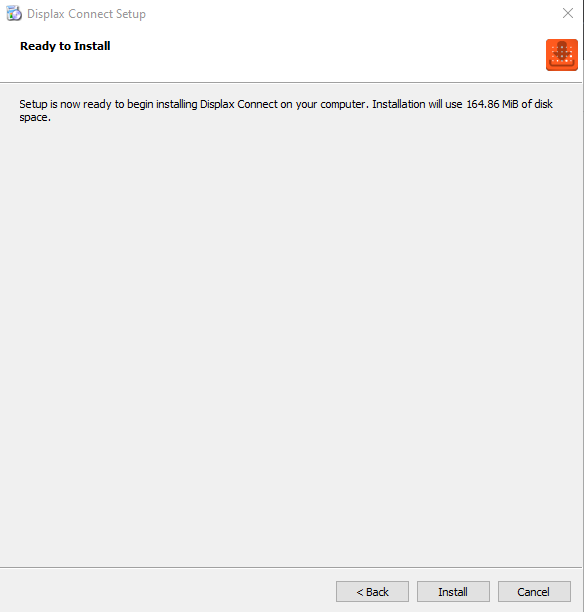
3. Click Install.
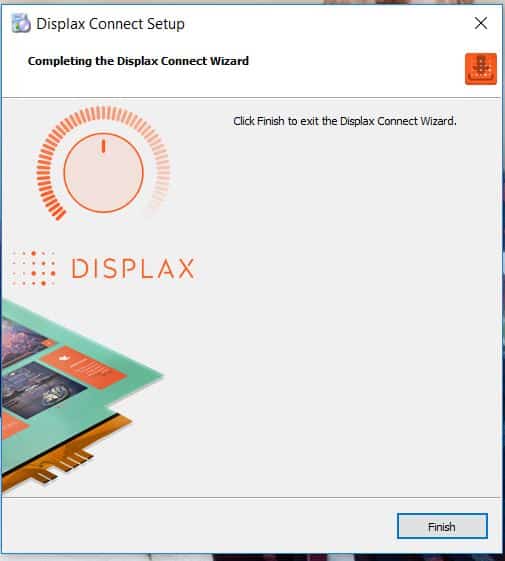
4. To complete this download, Click Finish.
5. To open the Displax Connect program, double-click the icon on your desktop.

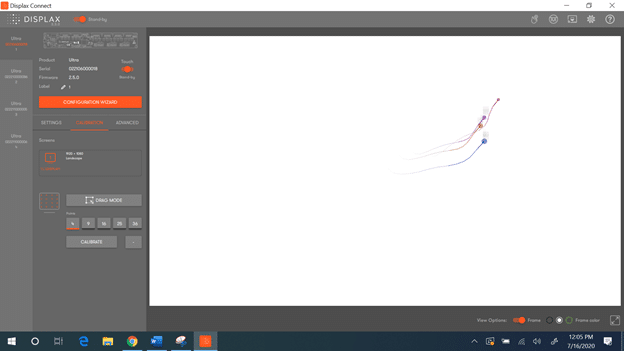
6. The following window will appear.
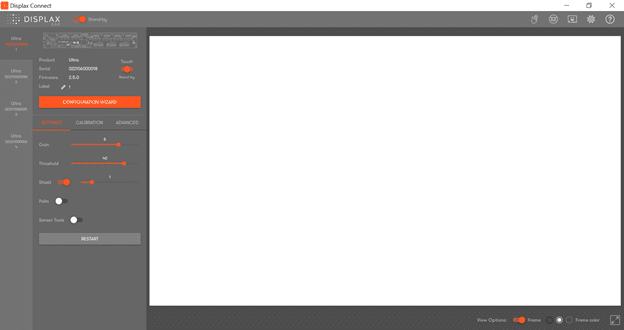
On a 2×2 Video Wall you will see 4 Controllers on the left hand margin, one for each monitor.
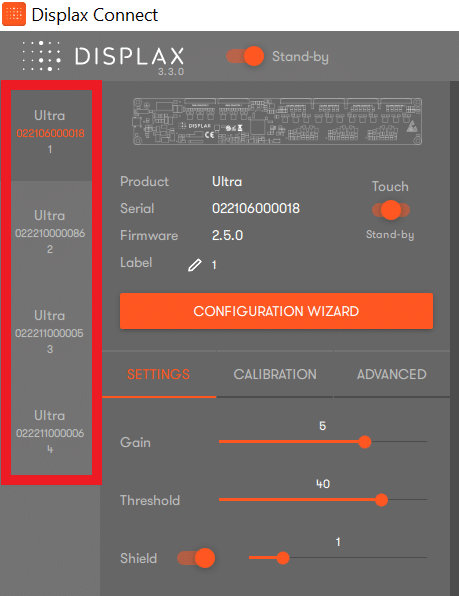
7. Activating Touch can be done separately for each monitor in the Video Wall. To confirm which monitor corresponds with the selected controller, test each monitor one by one for Touch Detection. You will see touch points detected in Displax Connect.
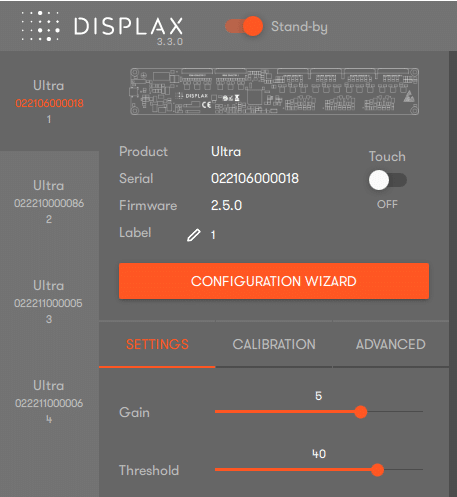
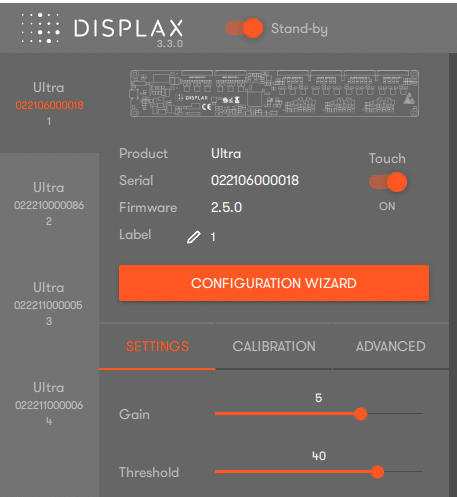
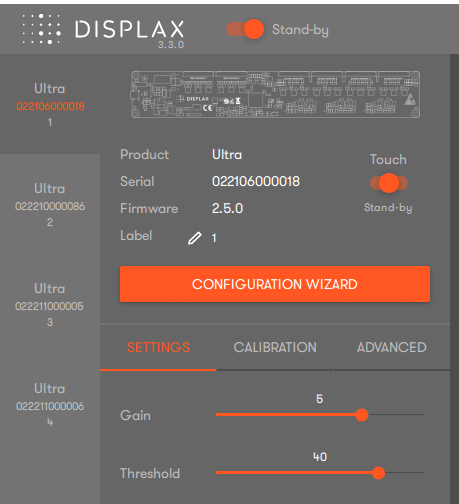
8. Locate the toggle button for “Touch” and ensure it is in the “ON” position.
-Touch Disabled: Toggle button is white (or grey) and in the left position
-Standby mode: Toggle button is orange and in the middle position
-Touch Enabled (Active): Toggle button is orange and in the right position
Touch status set to OFF
Touch Status set to ON
Touch Status set to Stand-by
9. After setting the touch status “ON”, close the Displax Connect software in order to save the setting in the touch screen controller. If the Connect software is not closed, and the USB cable is unplugged from the device running the Connect software, the Touch Status setting change will not be saved and touch may not function. If this happens, repeat steps 8 through 9 and ensure the Connect software is closed properly.
Note: Repeat Steps 8-9 for each Monitor as needed.
10. If the above steps do not resolve the issue, please contact the TSI Touch Customer Service team at 802-874-0123 Option 2; email: support@tsitouch.com; or by visiting our TSI Touch website and clicking on the red “Contact” icon in the top right corner of the Homepage.
SALES:
1-802-874-0123, press 1
SUPPORT:
1-802-874-0123, press 2
ADDRESS:
One Millennium Drive, Suite 3
Uniontown, PA 15401
CONTACT US